Thursday, December 15, 2016

What to do after you Uninstall a Software?

One of the most common mistakes most of the users commit after uninstalling software is not cleaning its values from the system registry. Not doing so will create problems in re-installation of the same software again as it would coincide with the old values. Sometimes, software does not uninstall and throws errors when the user attempts to uninstall. At this point, there are a few steps to be followed to uninstall the program.


The regular method to uninstall any program is to go to the control panel and click on the program to uninstall and let it run its course. If the program still does not uninstall, you can run system restore, and choose a restore point. Once the restore point is created, install the program, so that if anything goes wrong, you can restore your system to an earlier time.
In Windows 8, you can search for the program that does not uninstall and click on it to uninstall once it shows up in the search menu. Sometimes, the program that is installed does not get listed in the programs menu of the control panel. In such a case, this is one method to uninstall the program.
On the start screen of Windows 8, all the installed programs are listed. You can right click on any of these programs that you want to uninstall and remove them from the system. If neither of these methods works, reinstall the same program to uninstall them. Applications, like the Microsoft Office suite that come with many inbuilt applications that have system dependencies can be tricky to uninstall. Such suites have their own uninstaller and troubleshooting options for uninstallations of any of the applications within the suite.

There are many tools online that can be installed which remove old and unused programs, and corrupted files of installations. They also remove programs with forced uninstallations option. Programs that take up a lot of space and won’t uninstall, a tool called Powershell can be used which uninstalls even the most stubborn applications that won’t uninstall through standard procedures.


The most common types of software that are wearisome to uninstall are the antivirus and security software applications. For such applications, you can use an external app like the App Remover and uninstall them.
You can also remove the entries of the uninstalled program from regedit, the registry editor. For this, open the registry editor, and go to the HKey local machine, Software, Microsoft, Windows, Current Version in the left hand panel. Then click on the folder of the application that you want to uninstall. Right click on that folder and delete it.

You can also go to the SAFE MODE and click on the program files listed in the Windows directory, Drive C, and delete that folder listed in the common files. Now click run msconfig and click the option that says BOOT. INI and uncheck the SAFE MODE and reboot your system.


Using Registry Keys to Improve System Performance

The system registry in Windows operating system holds the complete information about the hardware, software, and internet settings. All the actions performed on the system, such as installation, uninstallations, upgrades, etc are stored as a string of information with values in registry. Making changes to these values can help boost the performance of the system as well as speed up navigation of any application in the system.


When you make correct edits in the windows registry, you can expect desired results. A wrong step can be rectified by system restore, and is not something to be scared of. You may, however, lose information from the system if it has not been saved or backed up.

Registry keys and strings used for various tasks


Before you make any changes in the system registry, ensure to back up your registry using many tools that are available online. Should there be a glitch in the system registry, you will be able to use the backup file and restore the previous state of the registry.

1. Speed up Taskbar


1. Open the dialog box using the Ctrl+Windows key command and type ‘regedit’ to open the registry.

2. Open the following tree HKEY_CURRENT_USER > Software > Microsoft > Windows > CurrentVersion > Explorer > Advanced.

3. On the right plane, right click and change the value of the DWORD to ‘ExtendedUIHoverTime.’

4. Now double click on this value and under ‘base’ change the decimal value to 400 milliseconds.

5. Close the window and restart the system.


2. Prevent reboots during Windows updates


1. Open regedit, the registry editor and go to the following panel on the left side pane. HKEY_LOCAL_MACHINE > SOFTWARE > Policies > Microsoft > Windows.

2. Right click on the right pane and select NEW key and rename it to ‘Windows update’ folder.

3. Click on the windows update folder and on the right pane, right click and change the value of DWORD to ‘NoAutoRebootWithLoggedOnUsers’ in the same format, without spaces.

4. Now click on the NoAutoRebootWithLoggedOnUsers and change its value to 1.

5. Exit the registry editor and log off to take the changes. The system will not reboot during any of the windows updates.


3. Shutdown Windows 8 faster


Make the following changes in the registry keys to shut down windows in lesser than 30 seconds.

1. Open Regedit, and go to HKEY_CURRENT_USER\Control Panel\Desktop in the left pane.

2. Click on WaitToKillAppTimeout, and type REG_WORD and change its value to 2000.


Now all the system processes will be terminated within 20 seconds and the system will be shut down in 20 seconds after you click on the shut down command.

These are basic tweaks that you can modify without needing extensive technical knowledge and make changes to boost the performance of your system and its applications. 

Thursday, November 17, 2016

Tips to Keep Your System Running Fast


Has your system been running way too slow lately?
Does it hang quite often?
Try out the following tips now and see the miracle of efficient usage.  Even though, these tips are primarily for Window based systems, similar measures can also be taken for Apple systems.


  • The first step is to back up the data and files. If needed, an external hard disc, CD or USB drive can be used for this purpose. If you have a cloud account, it can be an ideal place for backing up as well.


  • Restarting your computer, after saving the work you are doing, will increase the speed considerably.
  • From the drive properties, the disc space utilization pattern can be assessed. You may have to delete unused/unnecessary programs and unnecessary /duplicate files using control panel. A thumb rule would be to keep at least 15% of the disc space for smooth operation of the system. The frequent emptying of the recycle bin is needed.
  • The automatic starting of certain programs needs to be disabled for speed up.
  • The power saver can help to reach the higher performance of the computer.
  • The window context manager needs to be kept clutter free.
  • A reliable anti-virus, anti-malware and spyware programs, shall produce a clean system, void of bugs and snoop.


  •  A disc clean-up is an excellent tool to avoid hidden and temporary files and unnecessary loading of the disc. This should be done for all the discs on the system. 


  • You may add RAM/ new hard disc, if you store a lot in your system and spend a lot of time working on it.
  • In case you have any gadgets/accessories attached to your system, you may want to remove those for better speed.
  • Visual effects consume a lot of space as well as time in processing. Turning off the same would be helpful.


  • You may consider upgrading your hardware for better performance. Also, updating and patch-up of software are frequently required.
No need to let your system waste your time anymore! Just follow the above hacks and get it system running fast on your commands now!


Saturday, November 12, 2016

Five Important Tips to Make Learning Photoshop Much Easier


Five Important tips to make learning Photoshop Much Easier

Image result for photoshop

Planning on learning Photoshop but doubting yourself? Learning Photoshop is no rocket science.  With a bit of interest and dedication, you can master this simple art. After a little but serious practice, you will be able to use all tricks of the trade including vector graphics, paint brush as well as designing your palettes with a lot of ease. Let's look into a few tools you must focus on!

1) Color Correction, Touch Ups, and Enhancements


How to Create an Amazing Watercolor Artwork in Photoshop

Using these basic tools, you can correct and alter color and retouch blemishes. The removal of unnecessary parts from the picture is easy. Thereby you can enhance the quality of images and make them more presentable. The facility to create the vector graphics is a marvelous technique to give your photo, a life like effect.

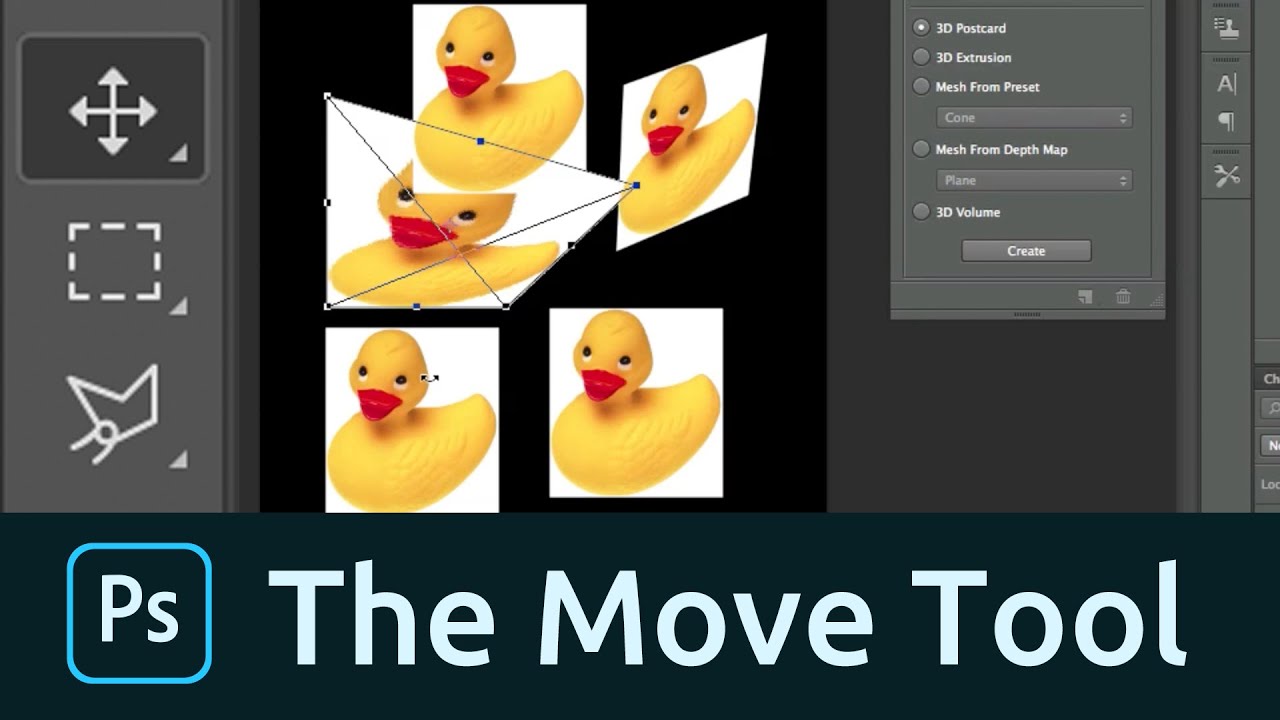
2) Move Tool (Keyboard: V)


Image result for move tool in photoshop

This tool allows you to add layers around Photoshop canvas. The move tool simply lets you move objects in a given layer around the Photoshop canvas. To use it, click anywhere on the canvas and drag.

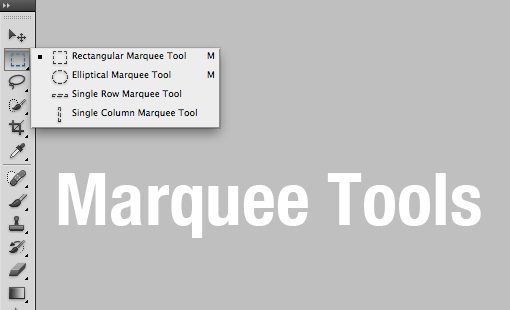
3) Marquee (Keyboard: M)


screenshot

With the marquee, you can select any part of the canvas in a specific shape. By default, you get a rectangular (or perfect square if you hold down shift while selecting), but you can also select in the shape of an ellipse (or a perfect circle if you hold down shift while selecting).

4) Lasso (Keyboard: L)


The lasso is a free-form selection tool that lets you drag around the canvas and select anything in the lasso'd area covers. With this tool, you also have access to the polygonal lasso, which lets you create a selection by clicking around on the canvas and creating points.

5) Magic Wand (Keyboard: W)


Image result for magic wand photoshop cs6

By Clicking an area with the magic wand, you instruct Photoshop to select the spot you clicked on and anything around it that's similar.

A few other helpful tools are Crop Tool (Keyboard: C), Eyedropper (Keyboard: I), Healing Brush (Keyboard: J), Paintbrush and Pencil (Keyboard: B), Clone Stamp (Keyboard: S) , History Brush (Keyboard: Y) , etc Eraser Tool (Keyboard: E) etc.

Happy Learning!


Thursday, November 10, 2016

Top 10 Google Chrome Extensions You Should Add Right Now!


Image result for chrome images


Gone are the days when people used Internet Explorer. In today’s world Google Chrome and Mozilla have taken over the regime. While we all love Chrome for its smoothness and efficiency, most of us still do not know that Google Chrome has a lot more features up its sleeves.

Extensions are small programs which enhance the functionality of the chrome browser in any required manner. Be it checking Alexia Rank of a website, downloading videos or blocking ads; there is an extension for anything and everything to make your life much easier!

While there are thousands of such extensions, some are extremely useful to every chrome user out there, regardless of profession, interests or background. 

Every new addition to this list takes these users by surprise.  Let’s discuss a few extensions which you need to add to your browser right now!


1. Google Mail Checker


Google Mail Checker can display the number of unread messages in your Google Mail inbox.  The same extension will enable you to open your inbox with just one click.

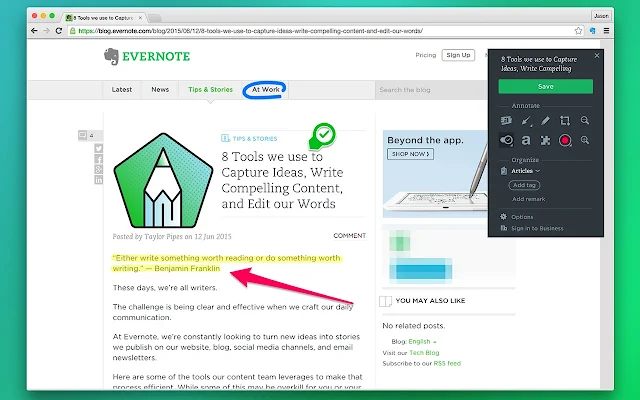
2. Evernote Web Clipper


If you are an ardent Evernote fan, you would be happy to have this extension which let you add those interesting snippets to Evernote quickly. The saved items will be retrievable with a back link to the original page with ease.

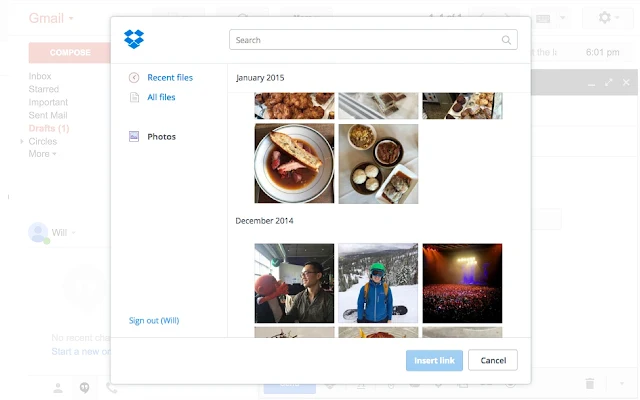
3. Dropbox for Gmail


Retrieval and transmitting of links and files is easy with this extension- Dropbox for Gmail, especially if you are using Dropbox as the main storage to save your stuff. It also speeds up the dispatch the shared links.

4. Save as PDF


With this extension, creating a PDF document from a webpage is hassle free. Now you can download any web page that interests you as a PDF file with just one click.

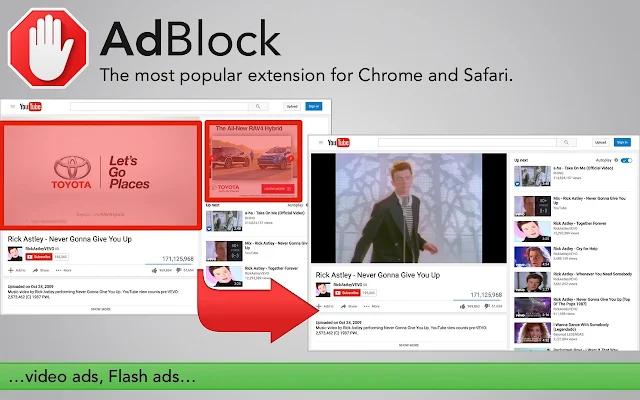
5. AdBlock


Sometimes the pop-ups, advertisements and even embedded videos are way too annoying and seem a serious waste of time. They even have the capability to distract you from serious jobs and ruin your flow and focus. Not anymore! The Goggle extension AdBlock blocks any such unwanted interruptions and helps you live more efficiently.

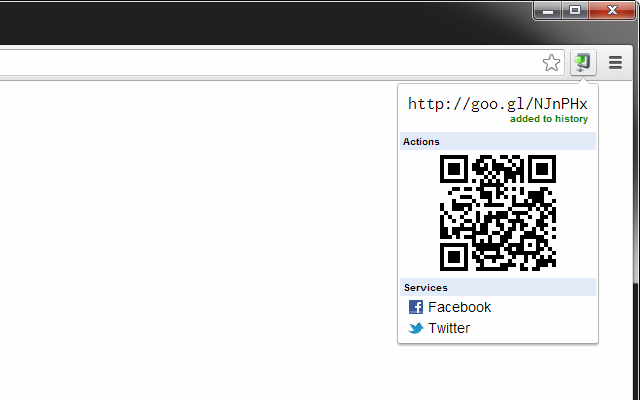
6. goo.go URL Shortener


This extension can save your precious time and energy. Neither you need to type the entire web address every time, nor is there any need to send long irritating links anymore. This extension creates a shorter version for every link.

 7. Shareaholic 


This is a long sought after facility for linking the social media to your desk top. It converts the current web page you're on into a short URL and allows you to share it on social media sites.

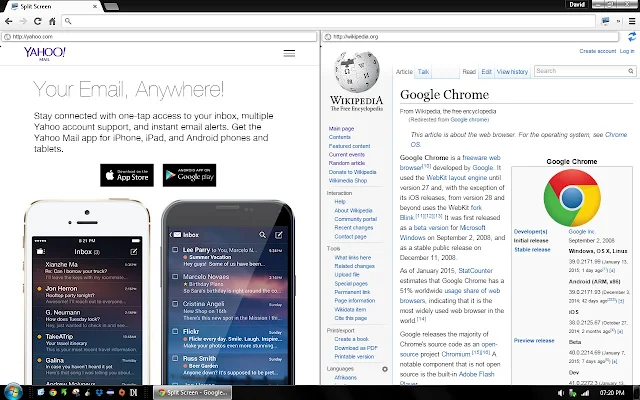
8. Split Screen


Split Screen extension helps you split your browser's view port to suit your specific needs and lets you view more than one window at a time,

9. Boomerang for Gmail


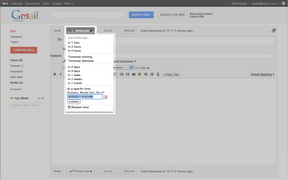
You can now schedule messages to be sent on  a later date with this simple button on your browser. No need to create task lists and drafts anymore. Boomerang will let you schedule mails even if you are offline.  

10. Todoist


Keep forgetting important tasks while browsing web? Wish there was a list which could stay right in front you while you chat with your buddies on Facebook? Todoist lets you make a very simple list of tasks that need to be taken care of, with extreme ease and comes with additional features of alarms, comments, categorization and much more.


We are sure you don’t want to be left behind in this advanced era and want to take full advantage of all the latest technologies around you! Then what are you waiting for? Explore the Chrome extension store and become the tech king of your circle!